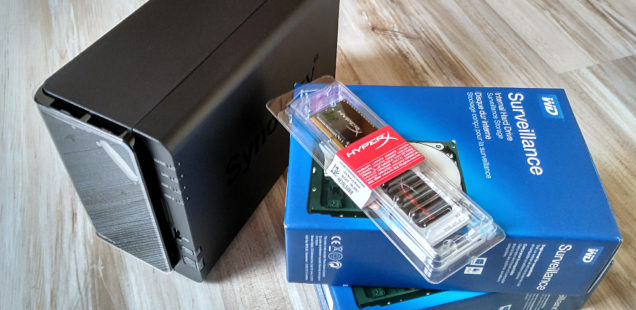
The Synology DS216+II DiskStation comes with more than 1 GB RAM. As such, the DS216+II does exactly that which Synology designed it to do, it suffices for use as data storage. However, the lack of random access memory becomes noticeable when streaming films or using it as a surveillance station (camera monitoring). Thanks to the built-in Intel Celeron processor, the DS216+II can however be fitted with up to 8 GB of RAM.
IMPORTANT ADVICE
Upgrading RAM as shown here voids all warranties and guarantees by Synology. The upgrade takes place at own risk and I do not assume any liabilities for damages or loss of data.
Difficulty:
Suitable memory moduls

As the Synology DiskStation is only compatible with certain memory slots, I have listed all compatible memory slot brands here. This ensures that my visitors do not have to deal with frustrations and problems when upgrading their random access memory. I have been able to personally test all memory slots many times and I can therefore give them my personal recommendation.
All specifications are exactly the same with the original memory modules. That’s the only way to ensure a smooth upgrade and a stable operation.
Synology DS216+II
Tools
Three screwdrivers, that’s all the tools necessary to upgrade RAM. If these are readily at your disposal, you can directly start replacing the random access memory:
- 1x Phillips screwdriver (mid-sized)
- 2x flat screwdrivers
Installation instructions
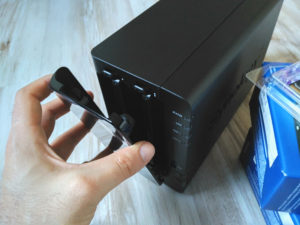 |
Step 1: Removing the front panel
First, we remove the rubber-mounted front panel, now we can see both hard drive slots.
|
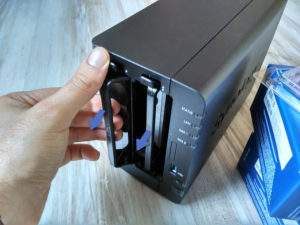 |
Step 2: Removing the hard drive slots
The release button needs to be pushed to remove the hard drive slots, then the hard drive can simply slot be pulled out.
|
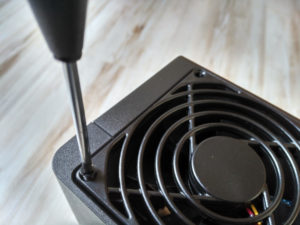 |
Step 3: Screw loose the fan grille
Now we loosen the four screws of the fan grille on the backside of the DiskStation and remove the fan grille.
|
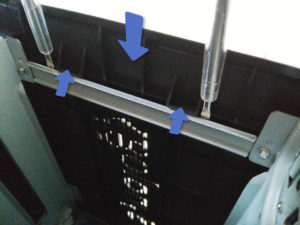
 |
Step 4: Loosen the case cover
ADVICE: This step is the most sensitive of the entire upgrade. Take your time and act with care.
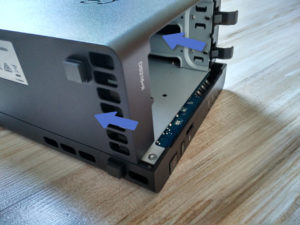
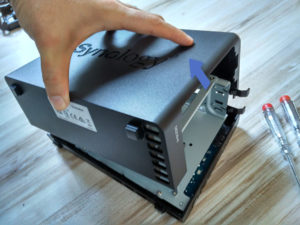
- The case cover is locked in place to the frame of the hard drive cage with two locking lugs. We use two flat screwdrivers to loosen these. We simultaneously place these on the sides of both locking lugs and then use these to carefully press the casing outwards.
- When the locking lugs have been pressed outwards, the casing cover needs to be simultaneously moved backwards. It might be advisable in certain situations to ask a friend or family member for assistance. It is easier with four hands, should however be possible relatively effortless alone with some skill.
- The casting cover can be removed upwards as soon as it has been loosened and moved backwards. Now, the hardest part of this upgrade is done
|
 |
Step 5: Removing the cooling fan
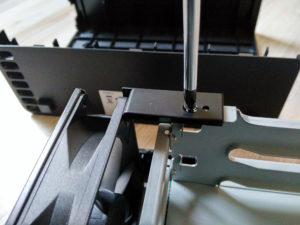
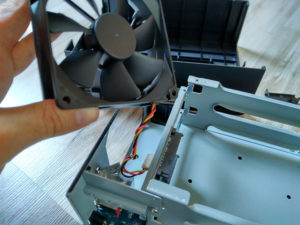
After we have removed the casing cover, we now need to remove the cooling fan of the DiskStation. To do so, we loosen the screw at the black angle mounting bracket, remove the connector of the fan cable from the board and remove the cooling fan.
|
|
Step 6: Removing the hard drive cage
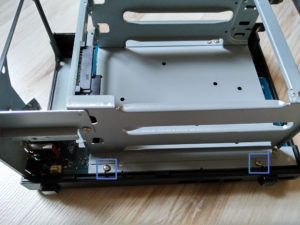
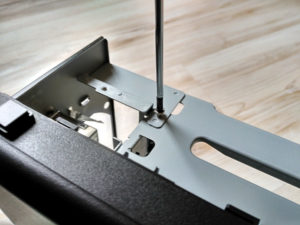
We now need to dismount the metal hard drive cage to reach the socket for the RAM from the casing.
- Two screws with round heads are located on the top + bottom side each. We loosen these 4 screws with the Phillips-head screwdriver.
- The connection plate between the hard drive cage and the backside of the casing can be loosened directly with one single screw located on the hard drive cage. The screw at the back of the casing does not need to be removed.
|
|
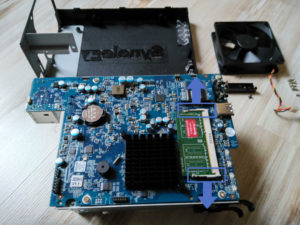
Step 7: Replacing the random access memory
We have finally reached our goal; the RAM socket is right in front of us:
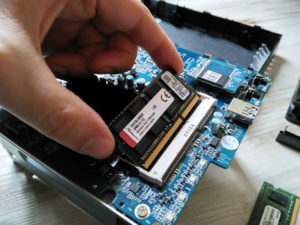
- The memory module is kept in place by a metal clip at the left and right-hand side. Both clips need to be carefully pushed outwards. Afterwards, the memory module lightly pops upwards and it can be removed from the socket.
- Now, the new memory module can be inserted. Press the memory module into the mounting at a light angle. Afterwards, push the memory module downwards, so that it snaps into the metal clips at the sides.
|
This article was helpful for you?
Please support Datenreise.de – Thank you!
Donate
Rate this Post:


4.57/5 (14 votes)
Synology DS216+II: Upgrade memory,
4.57 out of
5 based on 14 ratings
 Loading...


Thanks for the tutorial. I upgraded to 8GB. Runs pretty smooth but it might be a little much as usage rarely gets over %20.
Thank you! Worked beautifully with the Crucial memory you recommended. Rocking 8 GB now… much more headroom for docker! (hurray for “free” UniFi controllers!)
Thanks! Works like a charm!